DOWNLOAD IPv4 BUYER’S CHECKLIST
IPv4.GLOBAL connects IPv4 buyers and sellers in an open, transparent marketplace. To learn more about purchasing IP blocks, click Buyers’ Information. To find out about the sales process, click Sellers’ Information.
Buying IPv4: The Basics
We offer three methods of purchasing IPv4 addresses: on our live auction platform, through “buy now” offers and via privately negotiated sales. To learn more about these options, click Buy IPv4 Addresses.
IPv4 Prices
Prices change, so budget more than current prices. You can usually get addresses cheaper at auction than a “Buy Now” listing, with the trade off of having to wait and not having a firm price. In most companies, getting your addresses for less than your budget works well for you.
IPv4 Transfer Fees
Include the Regional Internet Registry’s (RIR’s) transfer fee in your budget, and don’t forget that you will also pay an annual fee to the (RIR). Even if you already pay such a fee, your next purchase might push you into a higher fee category.
IPv4 Escrow Fees
Finally, understand whether you will need to include Escrow.com’s fee in the budget, or if your company is choosing IPv4.Global to be the escrow agent.
Payment Processing Procedures
Know how payment processing works for your company. After you buy IP addresses, the next step is to fund escrow, and for some companies this takes weeks. For smaller purchases (under $25,000 plus a 3% fee), IPv4.Global now accepts payment by credit card.
Download the IPv4 Buyer’s Checklist
To download a buyer’s checklist of steps for IPv4 address transfer in any of the RIRs, please complete the form below and click “Download” when you are finished.
For Specific Buyer Instructions
The linked blogs below describe in detail the processes involved in specific transfers.
For ARIN Buyers
ARIN to ARIN Transfers for ARIN Buyers
RIPE to ARIN Transfers for ARIN Buyers
APNIC to ARIN Transfers for ARIN Buyers
For RIPE Buyers
RIPE to RIPE Transfers for RIPE Buyers
ARIN to RIPE Transfers for RIPE Buyers
For APNIC Buyers
Tips for IPv4 Buyers
ARIN Region
U.S., Canada, Bermuda, and English-speaking Caribbean
- Setup your ARIN Online account so you can complete the necessary prep steps. This should only take 5-10 minutes, and is required to complete everything else.
- In ARIN, create an ORG: log into ARIN Online, then from the Dashboard click Your Records, Organization Identifiers, the in the upper right, “Create Org ID”. This should only take 5-10 minutes. ARIN will ask for an officer of the company to sign the Registration Services Agreement.
- In ARIN, request pre-approval. ARIN requires organizations to demonstrate that they need the addresses. In ARIN Online under Your Records > Organization Identifiers, click your Org Handle (which is the same as Org ID), then on the right click Actions to show the drop-down menu, and choose Request Transfer Pre-Approval. ARIN will ask what address space you are already using, how it is used, and projections showing why you need additional space; you may want to look at some examples. ARIN will ask for an officer to sign an attestation that the documentation is true, to discourage hoarding, and they will charge a fee of a few hundred dollars. Once approved, you can buy addresses, but save that pre-approval ticket number to include in your transfer ticket later.
- In ARIN, even after the transfer is approved it isn’t complete until you sign a Services Agreement and pay fees.
RIPE Region
Europe and the Middle East
- Setup your RIPE NCC Access account so you can complete the necessary prep steps. This should only take 5-10 minutes, and is required to complete everything else.
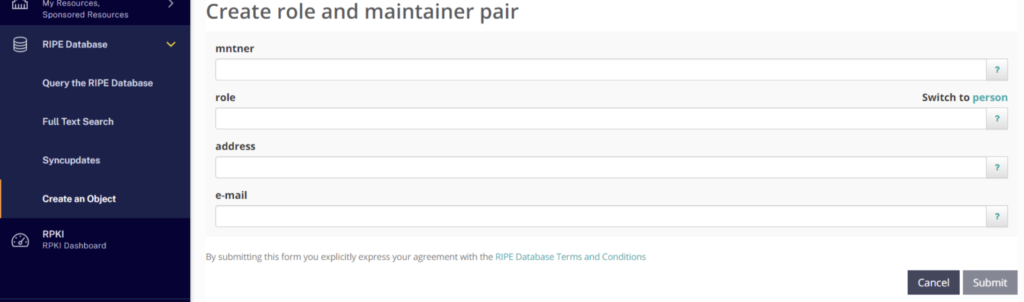
- In RIPE, create role, maintainer, and organization objects. The first two are created as a pair, designating who has authority to make changes over objects in the RIPE database. This should take just 5-10 minutes, and helps streamline the transfer later.
- From my.ripe.net, click RIPE Database, Create an Object, and select “role and maintainer pair.” For “mntnr” typically use a word or words to refer to your company, usually followed by “-mnt.” For example, ExampleCo-mnt. For “role” (you can switch to “person,” but then you’re stuck if that one person leaves the company) enter a name (“Network Operations Center”) and their email address below (noc@example.net).
- From my.ripe.net, click RIPE Database, Create an Object, and select “organization.” Use the mntnr created above. For “organization” use something like ExampleCo-ripe where the org-name Example Company, Inc.

- In RIPE, look up your company in your national corporations registry. You will need the registration number, the registration filing, and you will want to make sure one of the authorized signatories named in that paperwork understands they will need to sign a transfer agreement. You will need this to complete the transfer paperwork.
APNIC Region
Asia and Pacific nations
- If your organization is located in China (CNNIC), Japan (JPNIC), Indonesia (APJII), India (IRINN), Korea (KISA), Taiwan (TWNIC), or Vietnam (VNNIC), follow the instructions of your National Internet Registry (NIR).
- Create a MyAPNIC account. This should take just a couple of minutes, and everything is then simpler.
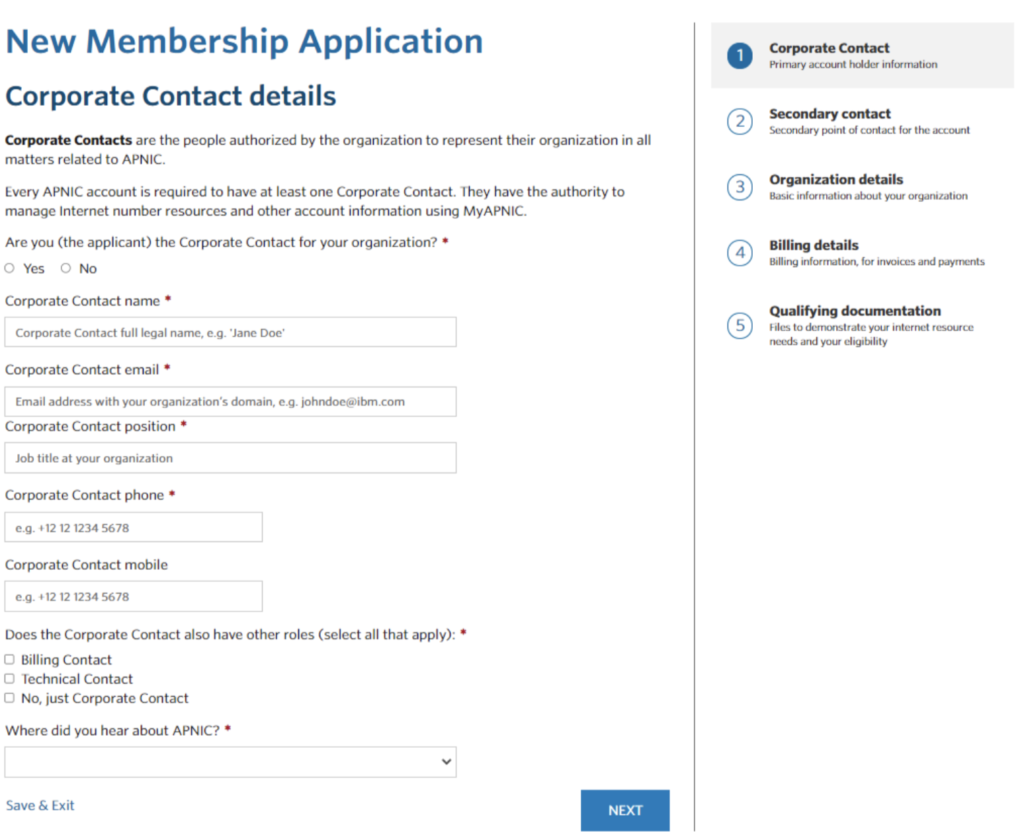
Apply to become an APNIC member. You will need photo ID of the primary and secondary contact people, the corporate registration paperwork (with English translation, if it is not in English), a letter of employment or letter from a director of the company authorizing you (as point of contact) to apply for APNIC membership, a utility bill or other document showing that you have active operations in the region, and documentation explaining how you have used IPv4 address space and why you need more. This may take some time, and it will be 2-5 days for APNIC to approve your application for membership.
- If you did not do it as part of becoming a member, request pre-approval through the MyAPNIC poprtal. You will need to include documentation showing why you need the amount of address space you are requesting.
LACNIC Region
In South America, Central America, Mexico, and non-English-speaking Caribbean
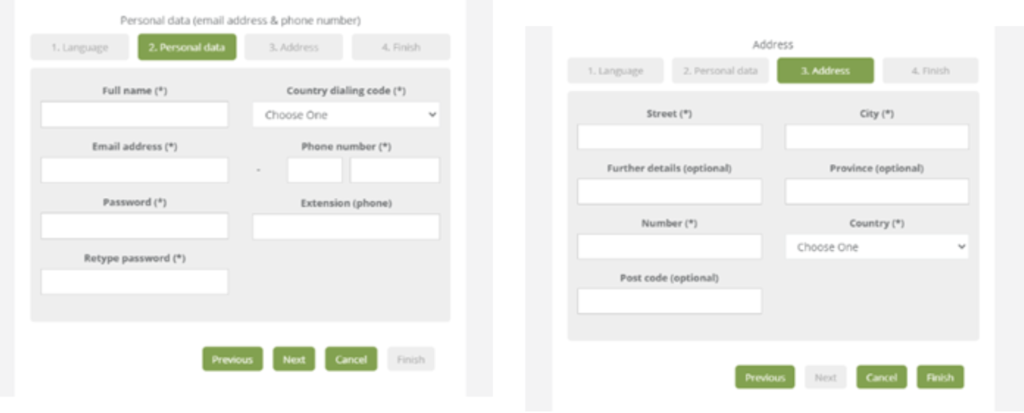
- Create an account on MiLacnic. This should take about 2 minutes, but will make everything else possible. You will then get a verification email to confirm your account.
- Request pre-approval: go to http://milacnic.lacnic.net and login with the administrative user ID of the organization you represent. Once you are logged in, click Transfers/Receiving/Apply. You will need to document previous utilization or immediate necessity for 25% of the requested space and submit a detailed one-year plan for 50% utilization.
- LACNIC is not very open about what documentation it requires from recipients. Note that all documentation must be sent to LACNIC by postal mail.
AFRINIC Region
In Africa
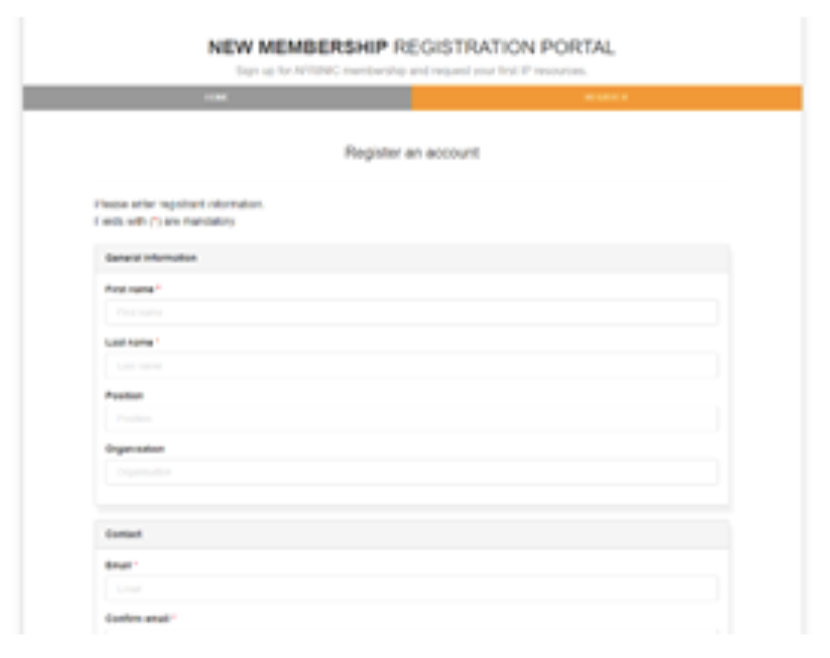
- In AFRINIC you will need to register as a Resource Member through the New Membership Registration Portal. This will take about 30 minutes, but make everything else possible.
- Fill out your information in AFRINIC portal, then hit SUBMIT. You will also need to fill out membership agreement.
- Although AFRINIC does not have a pre-approval process, you should prepare documentation showing that your network and organization are in Africa, have a valid service license or corporate registration (if applicable), and that you plan to use at least a /23 within the next 8 months.